V3A [500-SERIES] LEVELING AMPLIFIER

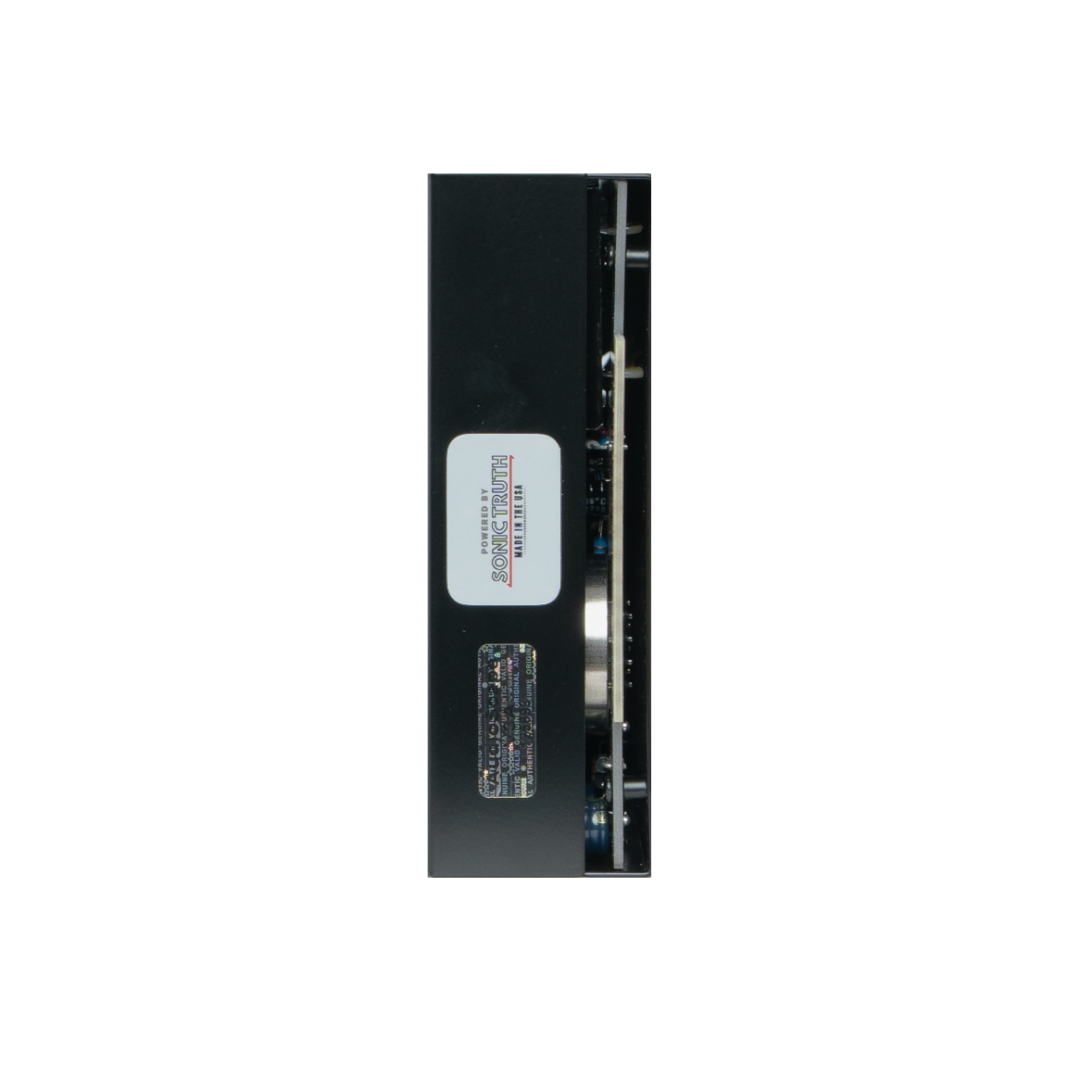


V3A [500-SERIES] LEVELING AMPLIFIER
Our 1:1 recreation of the classic Urei LA-3A solid-state optical compressor, now available in 500 series format! Based around our custom in-house T4B opto cell, built to original Urei spec, the V3A nails the smooth, articulate compression and unmistakable “mid push” of the original. A healthy complement of NOS and premium components, plus our proprietary custom-wound replicas of the original iron, make this by far the most authentic LA-3A recreation available - and in a much more convenient form factor! The V3A is unbeatable on guitars, shockingly great on vocals, and will even surprise you on some drum sources.
Please allow 2-3 weeks for shipping.
Includes hassle-free 2 year warranty.
A Truly Authentic LA-3A In 500 Series Format
The classic Urei LA-3A has long been on our list to tackle. As no fans of the original’s half-rack format, we set about the challenging task of designing a PCB that would fit inside a single-space 500 series unit zero compromise to the core LA-3A circuit.
It took a lot of R&D and many revisions, but we finally pulled it off: an LA-3A with the same transformer mojo, 1970s components, and an authentic Teletronix-style T4B opto cell as the original, adapted to a modern format and priced within reach of the working engineer.
Recreating the Iconic LA-3A Compressor: The All-Important T4B Cell
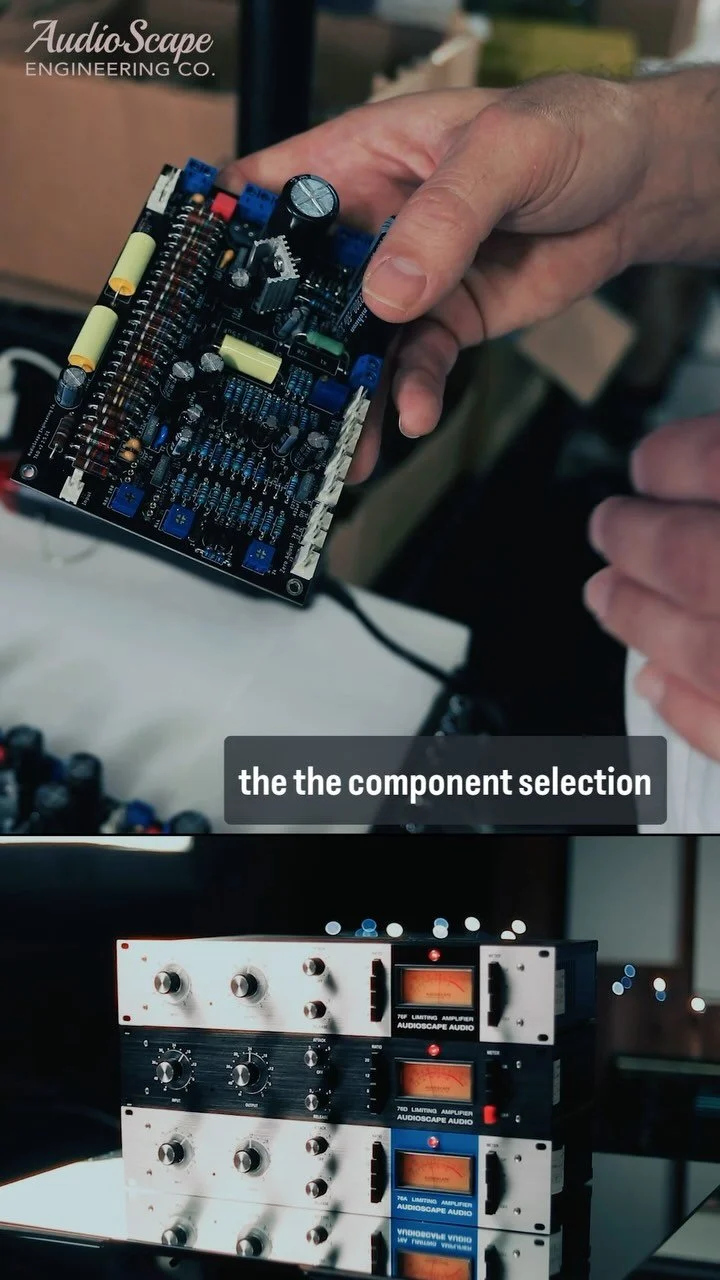
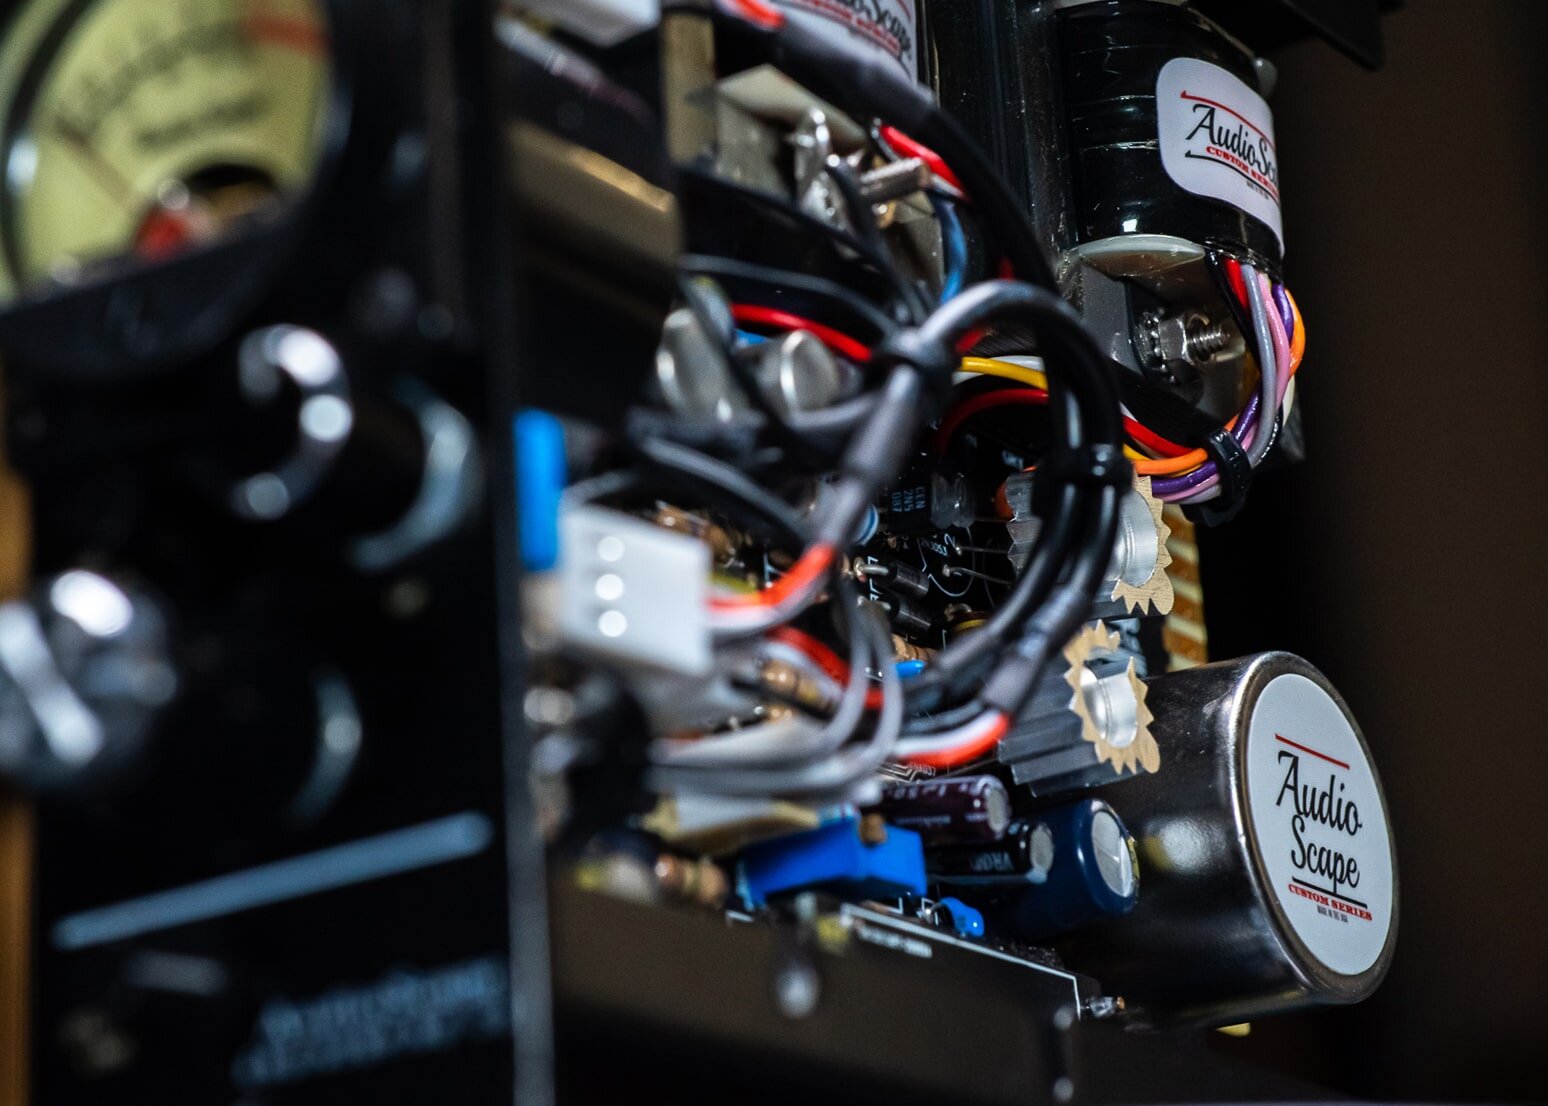
The Urei LA-3A, like its more famous tube-based predecessor (the Teletronix LA-2A), utilized a T4B opto-attenuator for gain reduction. This is by far the most important thing to get right when recreating these legendary opto designs. Like our Opto Comp, the V3A uses our made-in-house T4B cells, built to the exact spec as Teletronix originals - simply because no other alternative on the market is manufactured this way. To us, it’s a no-brainer that if you want the sound of the original, you should build it like the original however you can. Especially the opto cell!
We meticulously test and sort every T4B cell we make, since the electroluminescent panels naturally vary in response and performance. We’ve found that the faster cells more closely nail the behavior of the late 60s-1970s T4Bs as found in original LA-3A units, so we use these in our V3A compressors, and reserve the slower cells for our LA-2A-style Opto Comp.
Nailing The Famous LA-3A “Mid-Push”
The LA-3A is famous for its ability to push sources boldly to the front of a mix, particularly those that benefit from a strong low mid. The behavior of the T4B cell when implemented in a solid-state circuit is notably different from its tube-based predecessor, the LA-2A, and the resulting compressor - a favorite of engineers like Tchad Blake and Bob Clearmountain - is famously outstanding on electric guitars, and extremely underrated as a vocal compressor.
Vintage NOS Components = Vintage Tone
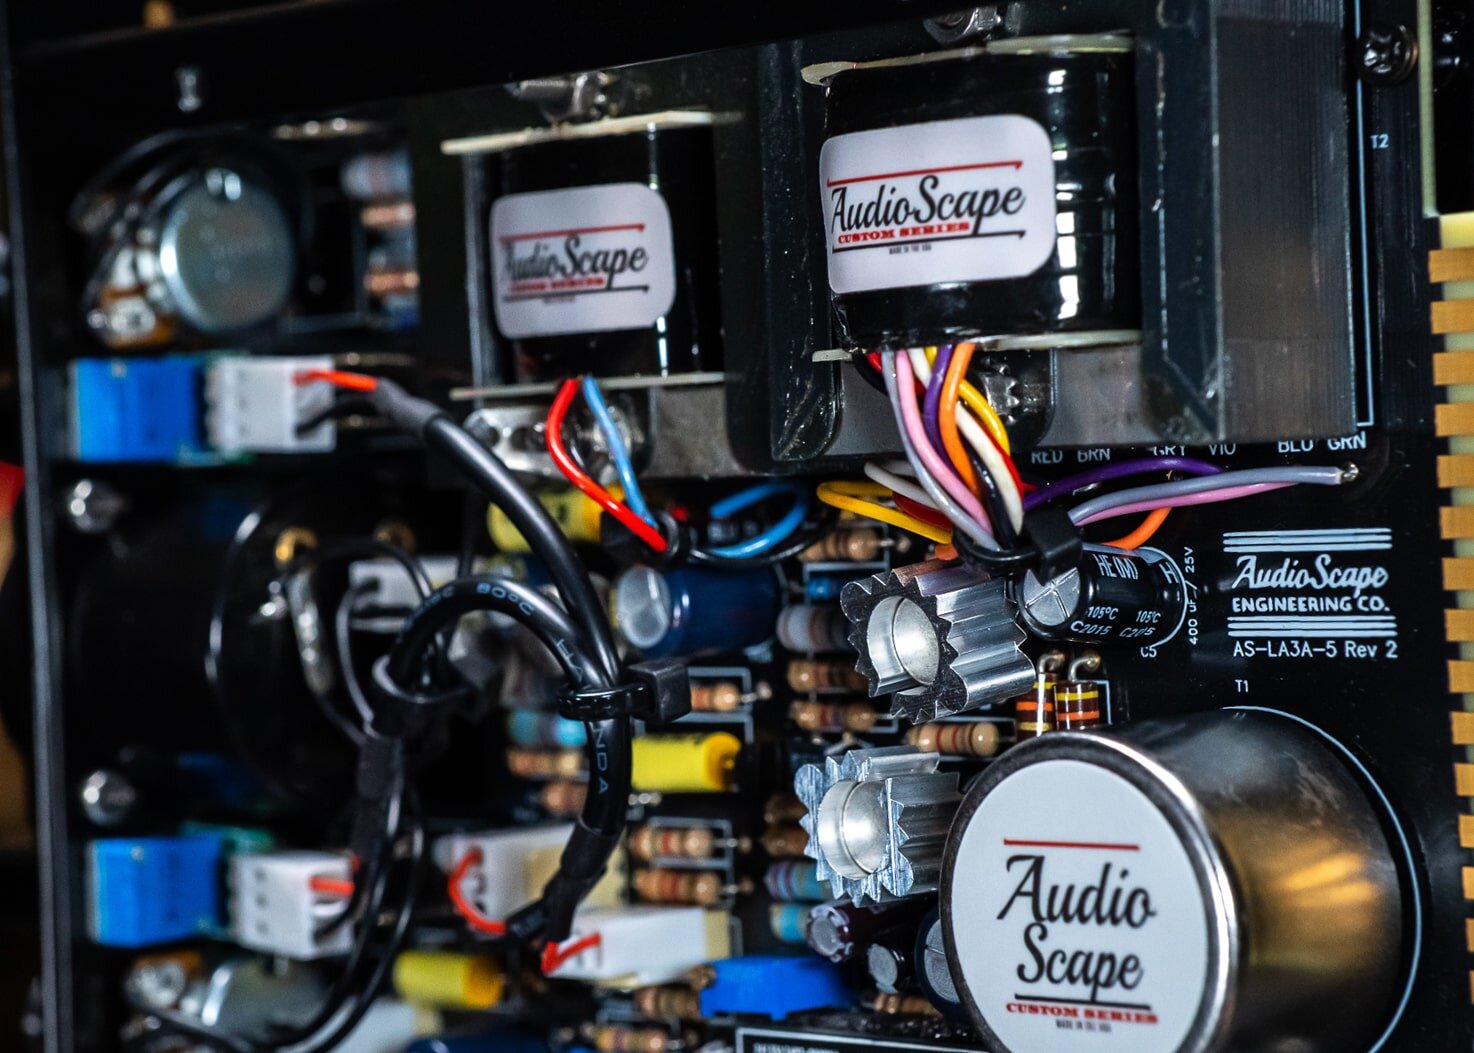
Critical to nailing the tone and behavior of this 1970s design is the use of period-correct components. So, being the obsessive parts nerds we are, we hunted down the same 1970s metal can transistors and carbon film resistors that can be found in original units.
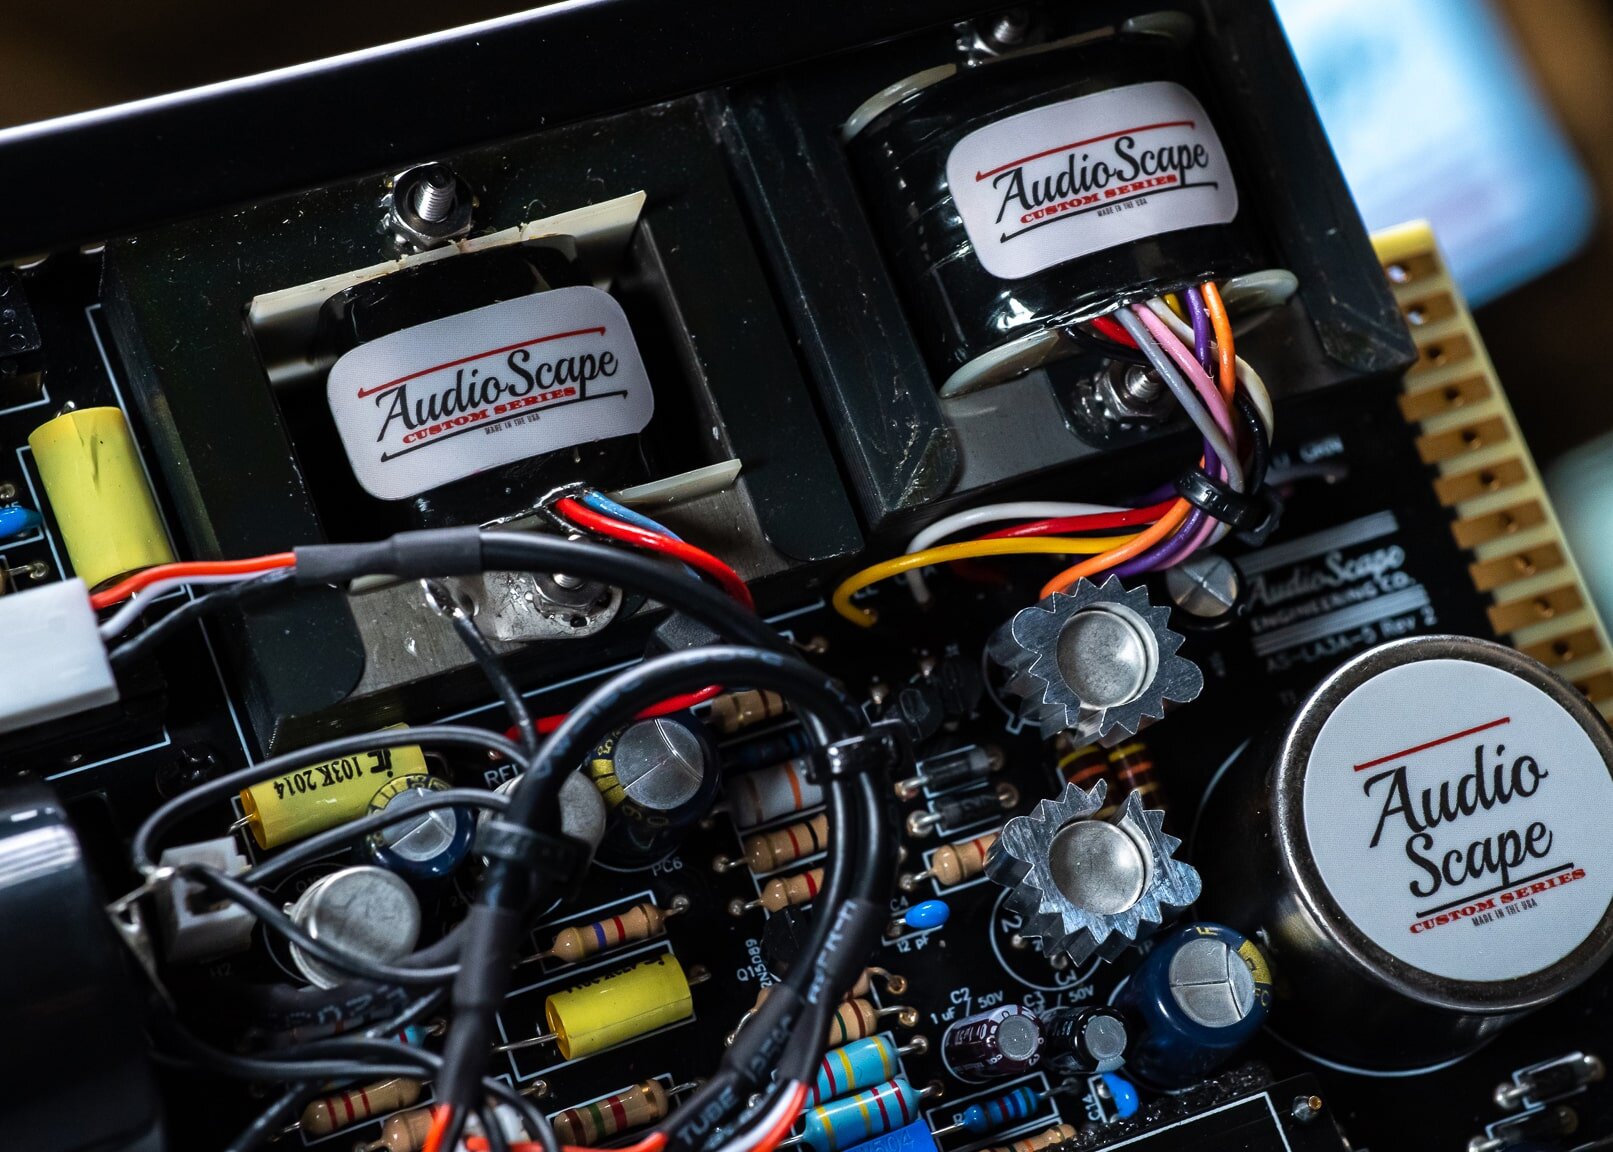
Precise, Custom-Wound Replica Iron
To nail the unit’s famously mid-focused “box tone,” we also designed precise, custom-wound replicas of the original 1960s and 70s-spec transformers and auto-former, including the crucial B11148 output transformer also used in the 1176 Rev F. Off-the-shelf replacements just don’t cut it here, and we took great pains in ensuring these transformers imparted the same magic to guitars and vocals as the original units.
It’s not for no reason that we’ve had many customers tell us they sold off their Urei or Teletronix-badged originals shortly after picking up a V3A (or two) - and they’d be silly not to, considering the crazy resale prices for vintage units!
Modern Updates & Upgrades
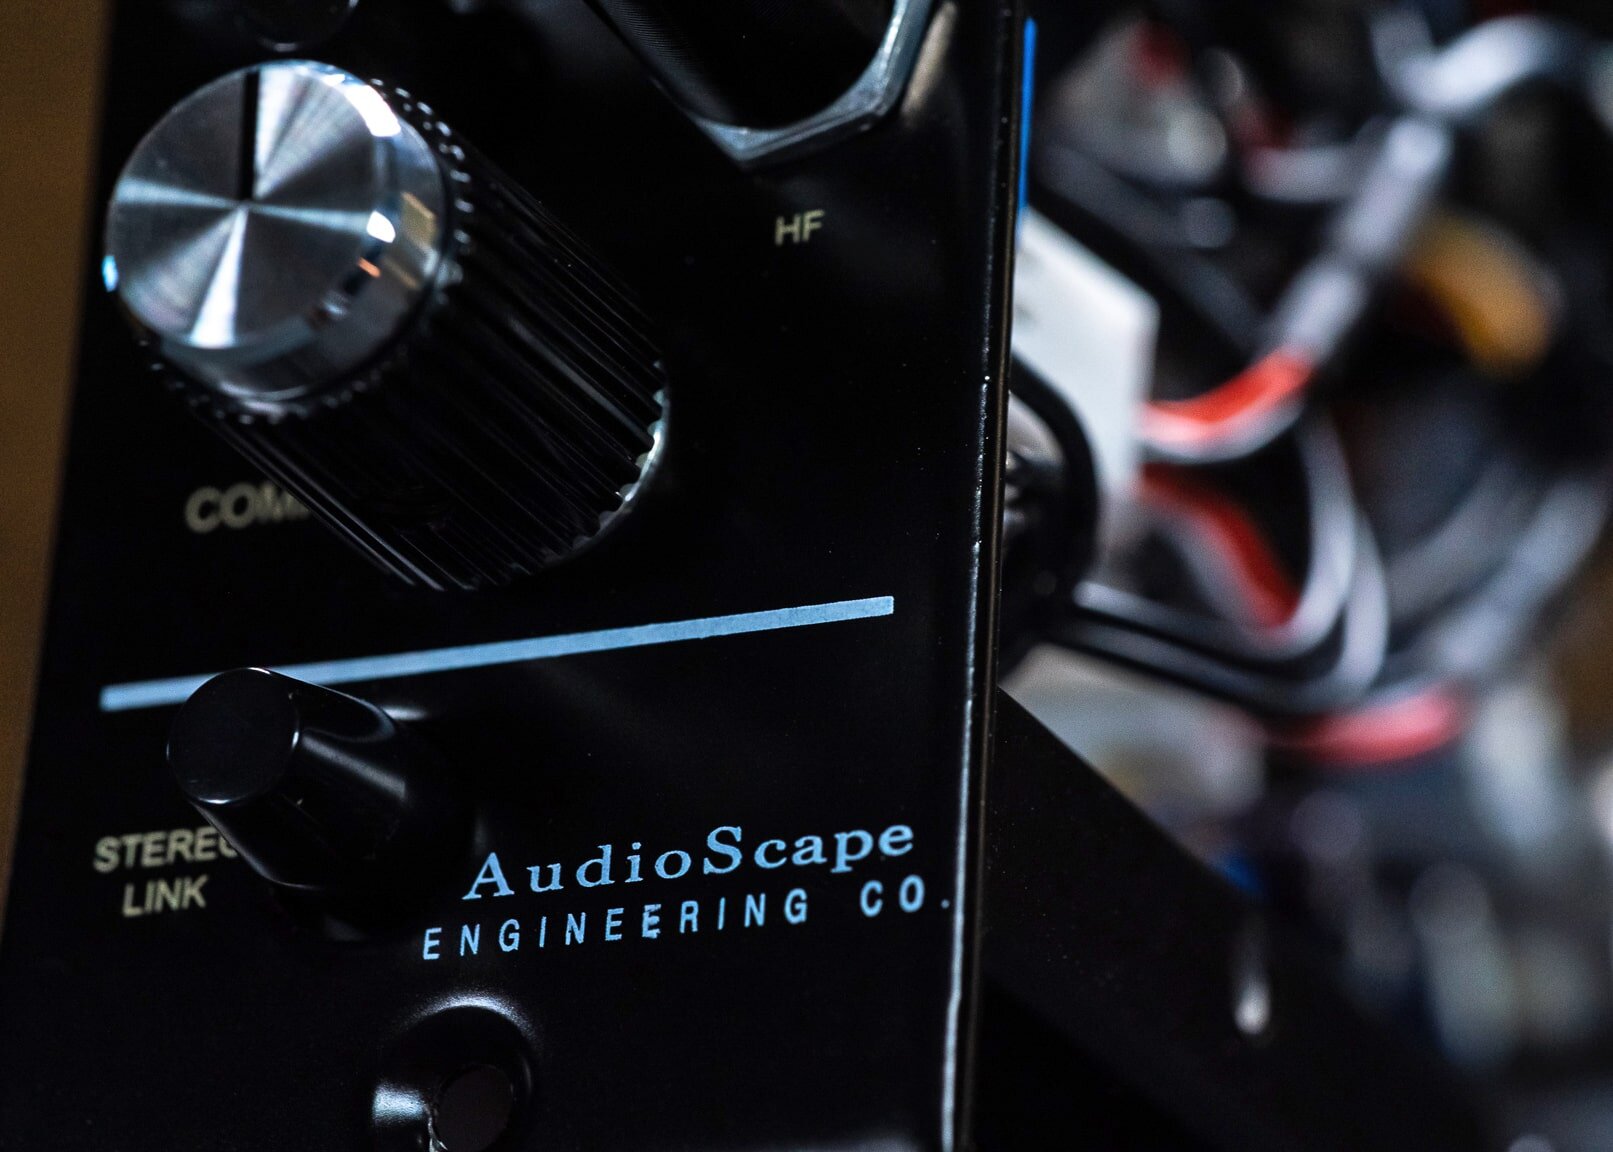
While we’re sticklers for authenticity and vintage-style construction when it comes to tone, we also want these units to be easy to use in a modern studio! In adapting the LA-3A design to a 500 series format we’ve made a few ergonomic changes - namely, moving previously rear-mounted switches and controls to the front panel. These include the “Stereo Link” button for chaining multiple units, plus “Limit/Compress” mode switching, a “Stereo Adjust” pot (used to balance both circuits’ gain reduction when linked) and the HF contour pot. This last control acts as a band-pass filter in the sidechain, making the DA-3A more responsive to high and high-mid frequencies the more it is turned.
The “Clearmountain” Mod Included Stock
As a final upgrade to this classic circuit design, we’ve included as standard a simple mod that raises the internal gain structure. Originally attributed to master mixer Bob Clearmountain, this now-standard mod reduces the V3A’s already low noise floor even further, without otherwise impacting the unit’s sound or behavior.
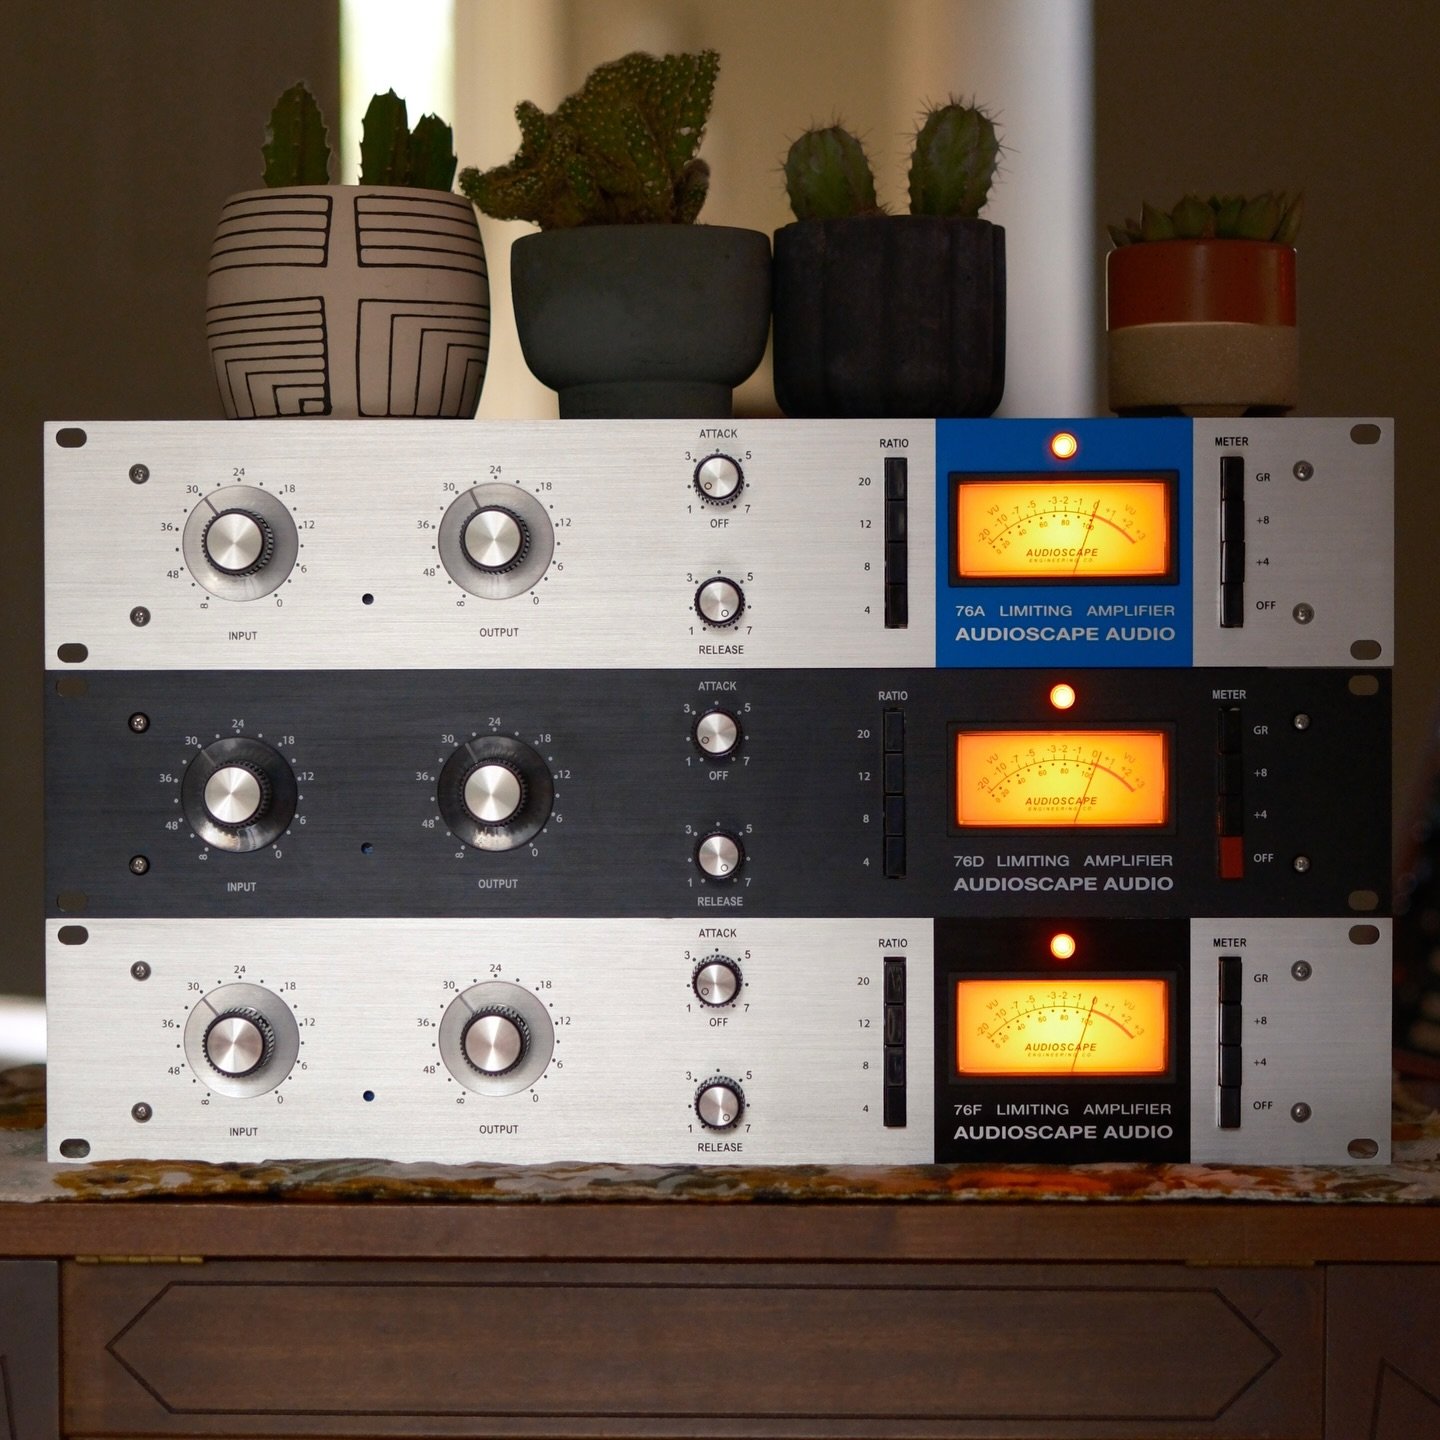
V3A Features & Specs
Rugged, Fully-Enclosed, USA Made steel chassis (with removable side panel if needed for correct fit)
Stereo link button
Stereo adjust control (balances gain reduction when units are linked - fully variable with center detent)
HF emphasis control (fully variable)
Proprietary, in-house T4B opto-attenuator
Cornell Dubilier polypropylene axial capacitors
NOS 1970s metal-can transistors
Proprietary, custom-wound input/out transformers & autoformer
Allen-Bradley carbon film resistors in audio path
V3A FAQ & CONTROLS (Switches - IN vs. OUT):
Is it in bypass when the button is pressed?
BUTTON IN = Unit Engaged
BYPASS BUTTON OUT = Bypass
Is it in comp or limit when the button is pressed?
BUTTON IN = COMP
BUTTON OUT = LIMIT
Is the HPF all the way off when turned clockwise or counterclockwise?
HF Control all the way COUNTER-CLOCKWISE means you're getting full-frequency compression (FLAT) as you turn the HF knob CLOCKWISE, more and more high-end gets COMPRESSED (this control works in an OPPOSITE manner to the HF EMPHASIS control on our OPTO COMP )
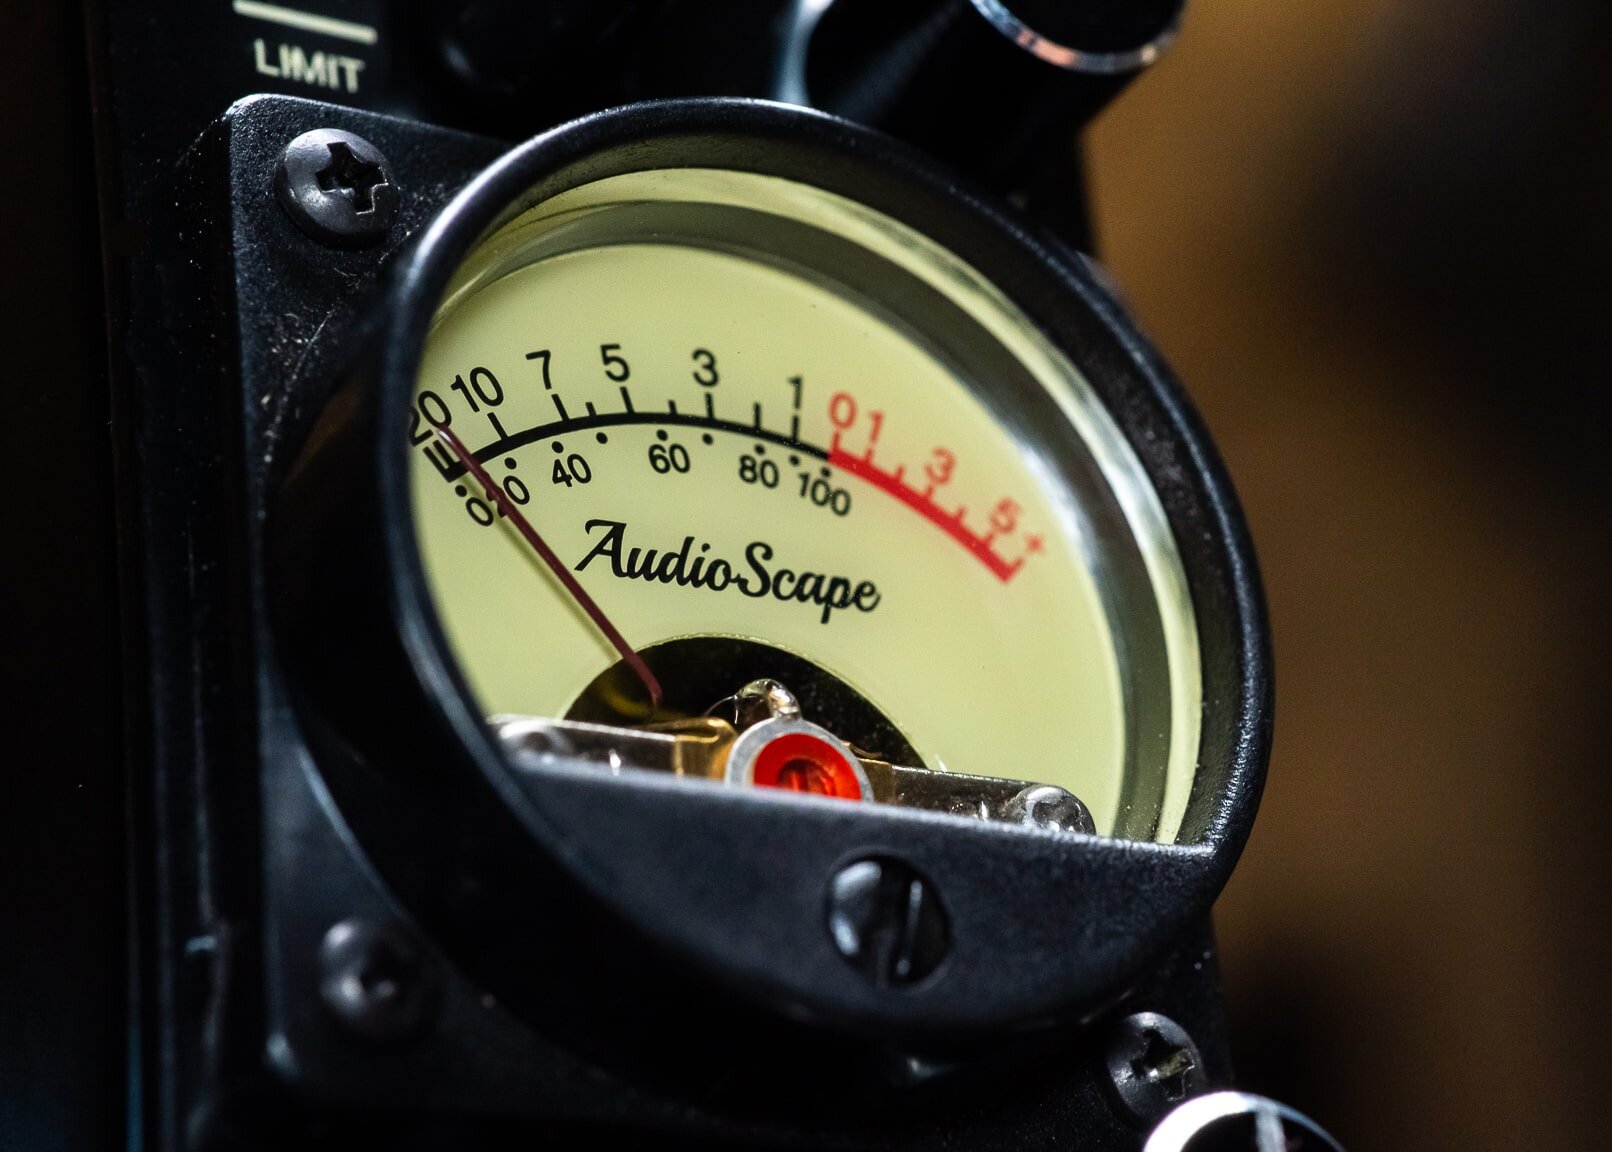
Metering button: +4dB and GR Button:
BUTTON IN = Output Level
BUTTON OUT = Gain Reduction
Is clockwise more compression or less?
GAIN and COMP work as you'd expect, as you turn them CLOCKWISE, you get MORE (be it GAIN or COMPRESSION)
How does the stereo linking work - mechanical telepathy or is there a physical connection somewhere?
Mwhahaha, love this one. Stereo Linking is achieved if your chassis allows it (usually there is a jumper inside (near the edge connectors) with a little jumper that will "link" Slots 1/2 or 3/4, etc...
What does the stereo adjust knob do?
THIS is a REALLY cool control - it will have an effect whether the STEREO LINK button is pressed in or not. It's "technical" purpose is to match the gain reduction between two units via the meter BUT it also has this BADASS, easter egg effect of allowing you EXTREME compression the more it's turned CLOCKWISE (and LESS when turned COUNTER-CLOCKWISE below the center detent). It's usually best left at 12 o'clock (center detented) but PLEASE experiment and let us know what you come up with!
A SWEET trick is to turn up the STEREO ADJUST knob as you turn up the COMP knob to get some INSANE compression happening - THEN simply turn the STEREO ADJUST KNOB counter-clockwise from where it's at to "ease off" of the amount of compression. It's easier to play with it than describe it but if you don't want to think about it just leave it at high-noon (again, center detent).
An easy way to remember what the buttons do is to press the METERING button and look at how it's labeled, with +4dB on top and GR below it.
Button IN = +4dB (output level)
Button OUT = Amount of Compression
To Surmise:
IN = Top Option (COMP or +4)
OUT = Bottom Option (LIMIT or GR)
When there is only ONE option labeled (in the case of BYPASS and STEREO LINK):
BYPASS:
IN =Engaged
OUT = Bypass
STEREO LINK:
IN = Stereo Link
OUT = Bypass Link (if two units are in use)
DOCUMENTATION:
HEAR IT IN ACTION!
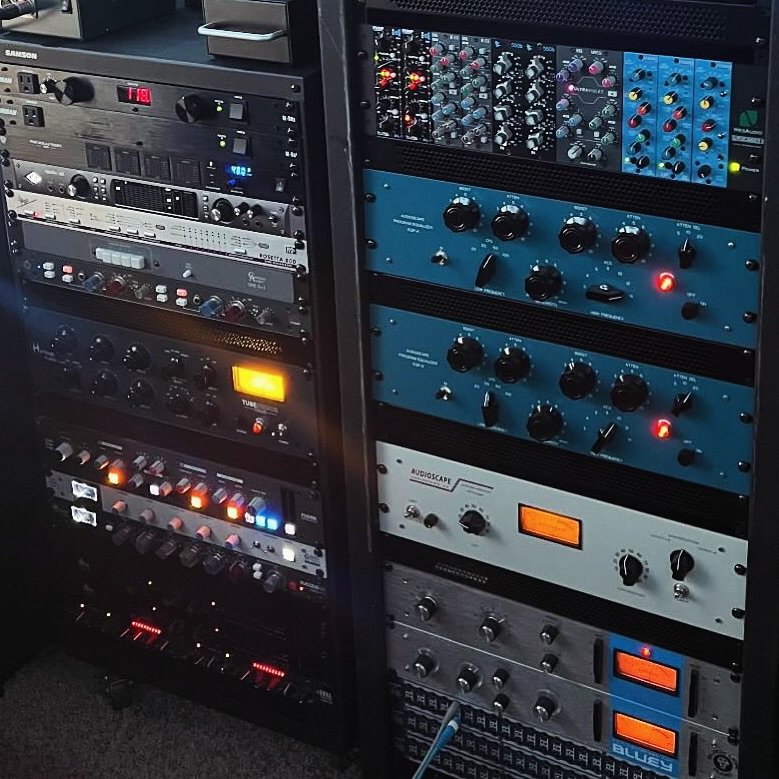
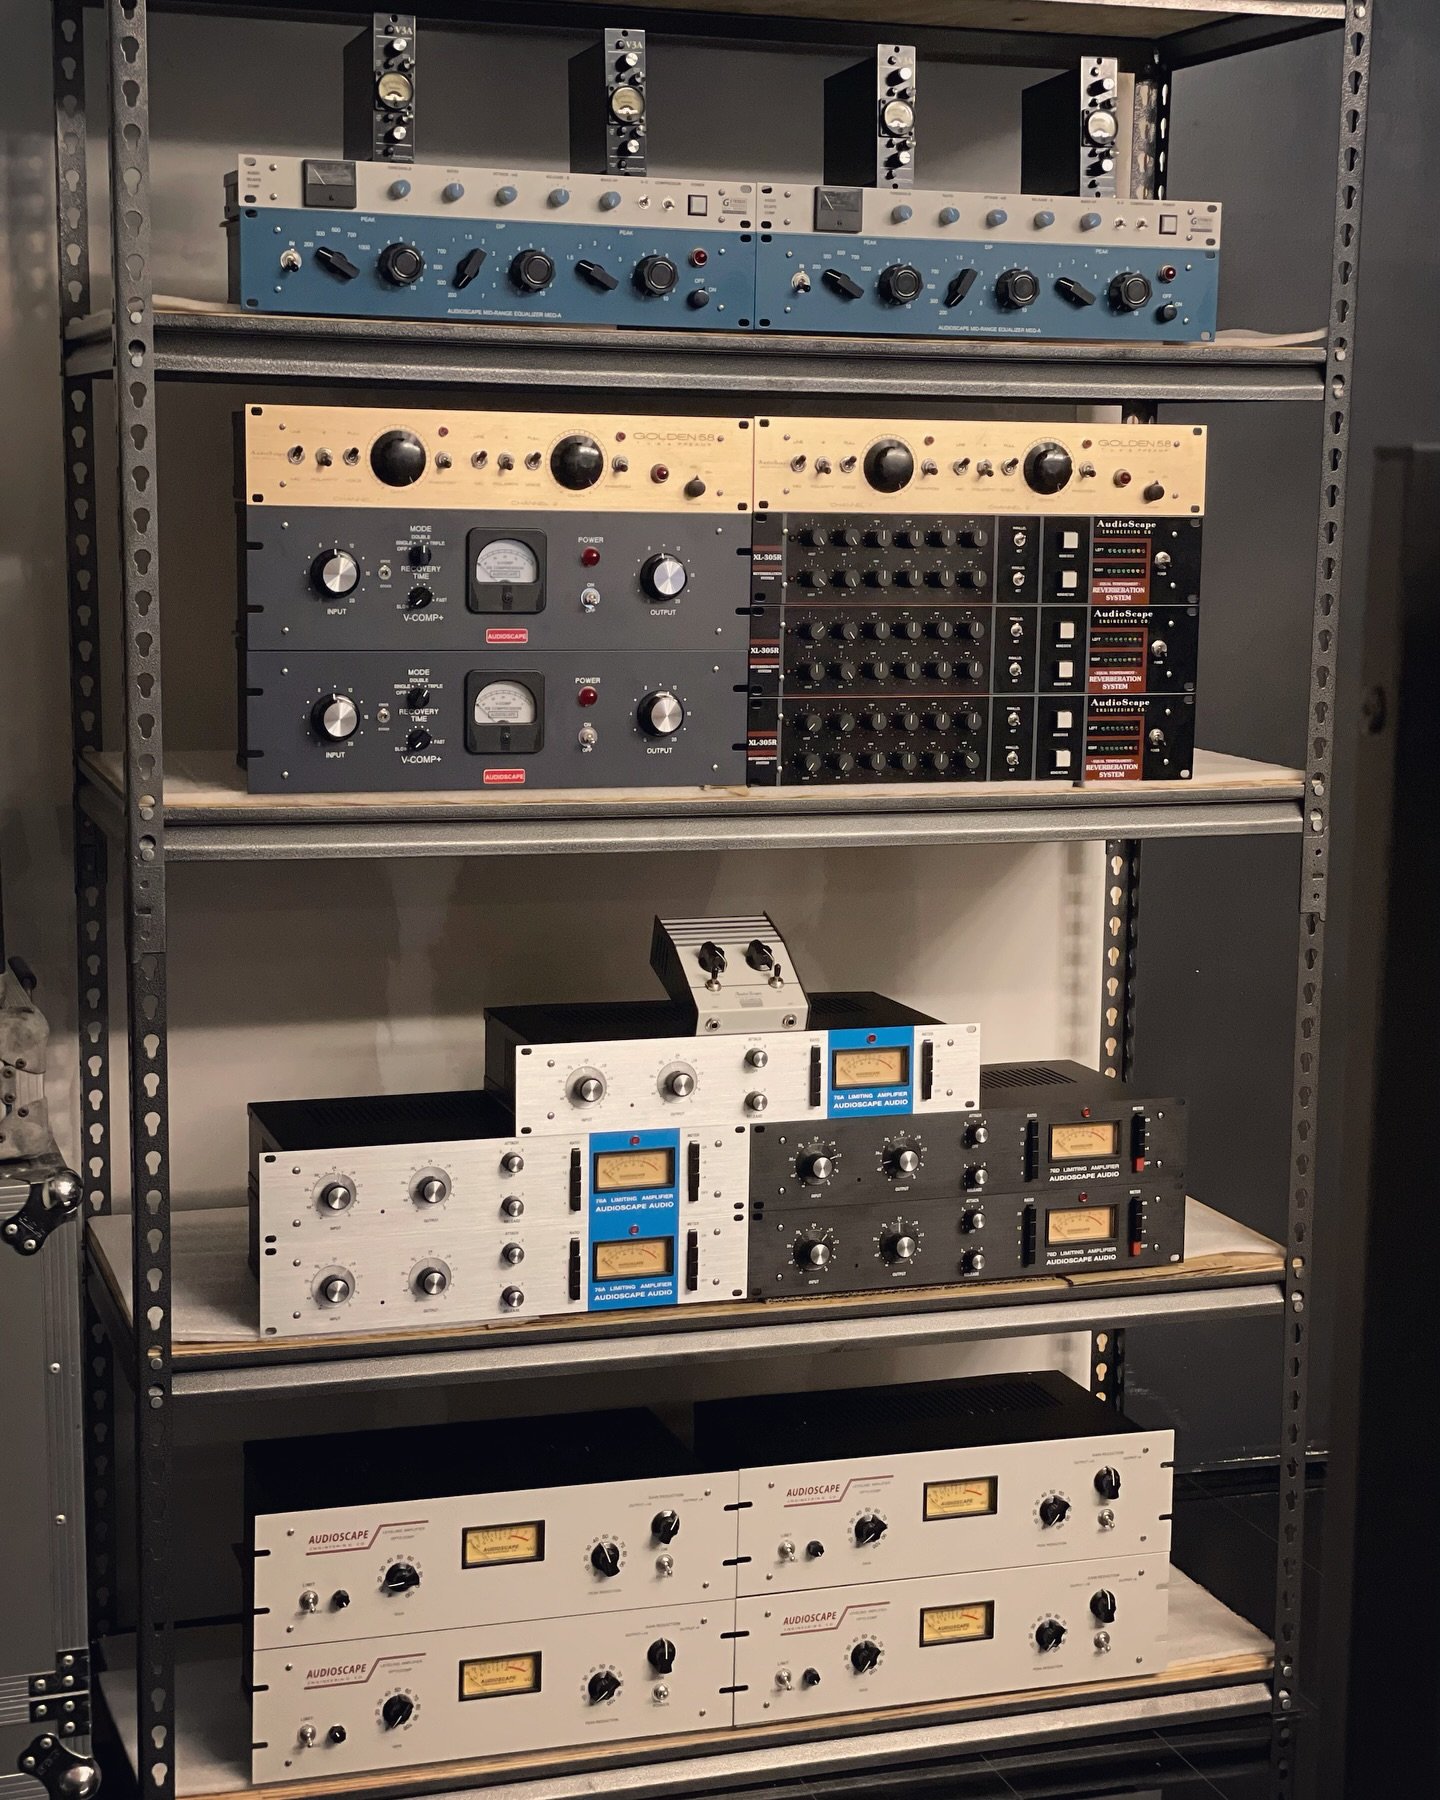
USER PHOTOS:
Want to see your photo here? Share a photo on Instagram and tag it with @audioscapeaudio!